Frozen
Here is an active version
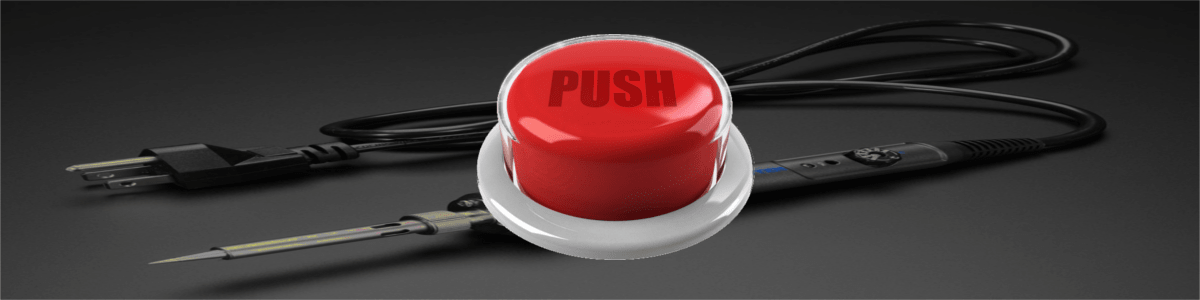
GPIO pins as inputs
So, let’s see how GPIO works on the input. Approximately one can imagine GPIO (input) as:

Do not pay attention to the diodes, they still will not save. Resistor R1 can be connected as pull-up or pull-down or not at all, by the way, its resistance is quite approximately, it lies in the range of .
To get rid of noise on the input line there is a Schmitt trigger (by default it’s active, you can turn it off, but it’s unclear why![]() ). Now the main thing:
). Now the main thing:
- You can apply 3.3V to the input even without pull-up and pull-down resistors and this is OK.
- You must not apply a negative voltage!
- You must not supply more than 3.3V!
Simple circuit with internal pull-up resistor
Let’s try using an internal pull-up resistor. Therefore, while the button is not pressed, a high level will be read. When the button is pressed, the low level will be read, let’s take this into account in the program.


Text of the program:
package io.github.yrabbit.kotlin

import io.github.yrabbit.java.util.AddDir
import jpigpio.JPigpio
import jpigpio.JPigpio.*
import jpigpio.Pigpio
import jpigpio.Utils
import kotlinx.coroutines.experimental.cancelAndJoin
import kotlinx.coroutines.experimental.delay
import kotlinx.coroutines.experimental.launch
import kotlinx.coroutines.experimental.runBlocking
import kotlin.system.exitProcess

fun main(args: Array<String>) {
    AddDir.addDir("/home/rabbit/local/lib")
    println("*** Raspberry Pi Kotlin ***")
    val pigpio = Pigpio()
    pigpio.gpioInitialize()
    Utils.addShutdown(pigpio)
    normOutputDriveStrength(pigpio)

    // Set pull-up resistor on button GPIO
    pigpio.gpioSetPullUpDown(UsedGPIO.ButtonPin.pin, PI_PUD_UP)

    // Init LED gpio
    pigpio.gpioSetMode(UsedGPIO.LedPin.pin, PI_OUTPUT)

    runBlocking {
        val job = launch {
            while (isActive) {
                with(pigpio) {
                    gpioWrite(UsedGPIO.LedPin.pin, !gpioRead(UsedGPIO.ButtonPin.pin))
                }
            }
        }
        // wait
        delay(8 * 1000)
        job.cancelAndJoin()
    }

    // clean up
    gpioSwitchToInput(pigpio)
    println("done.")
    exitProcess(0)
}

fun normOutputDriveStrength(pigpio: JPigpio) {
    // Check drive strength on GPIO
    val strength = pigpio.gpioGetPad(0)

    if (strength != CURRENT) {
        pigpio.gpioSetPad(0, CURRENT)
    }
}

/*
 * Clean up
 */
fun gpioSwitchToInput(pigpio: JPigpio) {
    UsedGPIO.values().forEach {
        pigpio.gpioSetMode(it.pin, PI_INPUT)
    }
}

enum class UsedGPIO(val pin: Int) {
    ButtonPin(5),   // GPIO05
    LedPin(26)      // GPIO26
}

const val CURRENT = 8 // mA
Start
The last push was at the time the program was completed![]()
External pull-up resistor
An external resistor has the advantage of not requiring a software turn-on and works right away.


In the program, we just remove the pull-up line of the resistor: pigpio.gpioSetPullUpDown(UsedGPIO.ButtonPin.pin, PI_PUD_UP)
How it works
Pull-down resistors

There is no particular difference for amateur projects between pull-up and pull-down options, although I prefer the pull-up option. If you have to place a switch on long wires, it’s much calmer when these wires have nothing but GND. The cat can crack the switch, re-connect all the insides to the case and to itself - it’s okay, there’s GND everywhere.
