Frozen
Here is an active version
Use more LEDs
One blue LED was simply amazing. I have a few more LEDs in different colors. Let’s do something like a mini-garland!
Let’s see what I have:
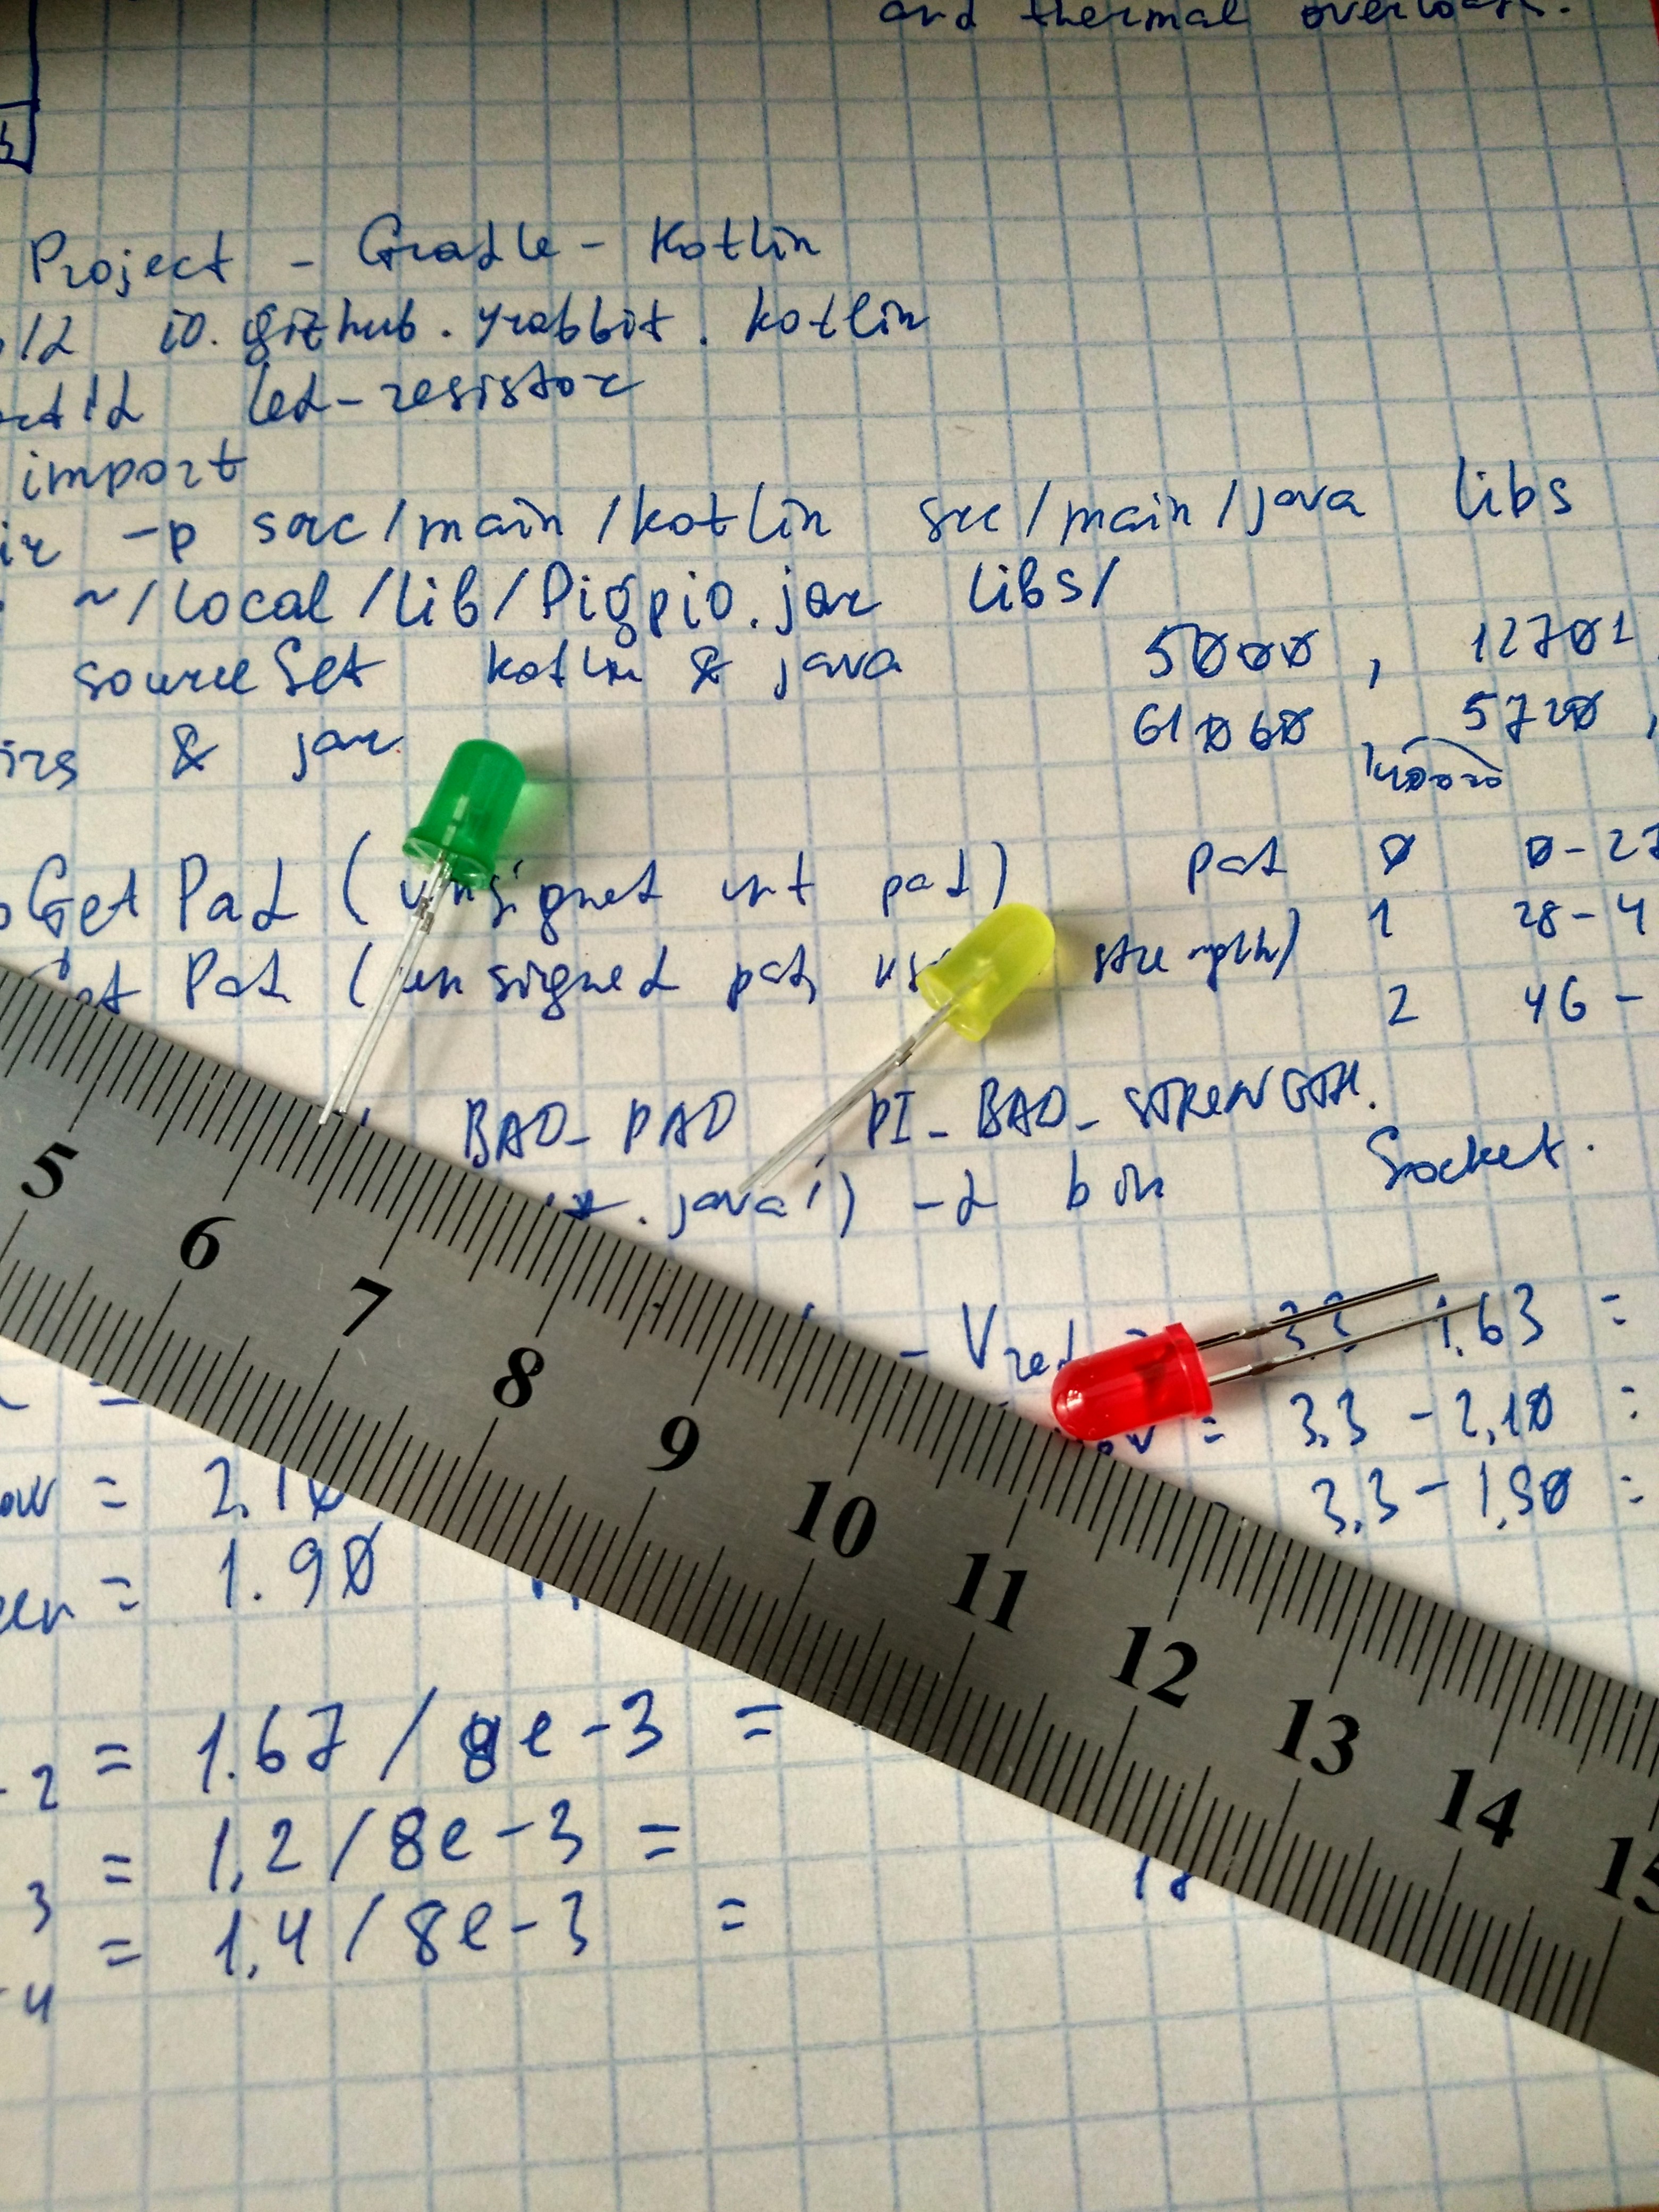 Three 5mm LEDs: red, yellow and green. Using the table for voltage drops on LEDs of different colors, we calculate the voltage drop across the limiting resistors:
| Color | V across the LED | V across the resistor |
|---|---|---|
| Red | ||
| Yellow | ||
| Green |
Again, we start from the permissible current through the load resistors equal to 8mA:
We round up (to reduce the current through the resistor, but not to increase it) and get for all three resistors .
The total current , this is below the permissible 50mA, as usual, we first check the circuit on a small power supply.
Schematic diagram
LEDs: D1 - blue, D2 - green, D3 - yellow, D4 - red.
Resistors: R1 - , R2, R3, R4 - .
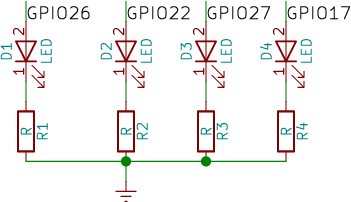
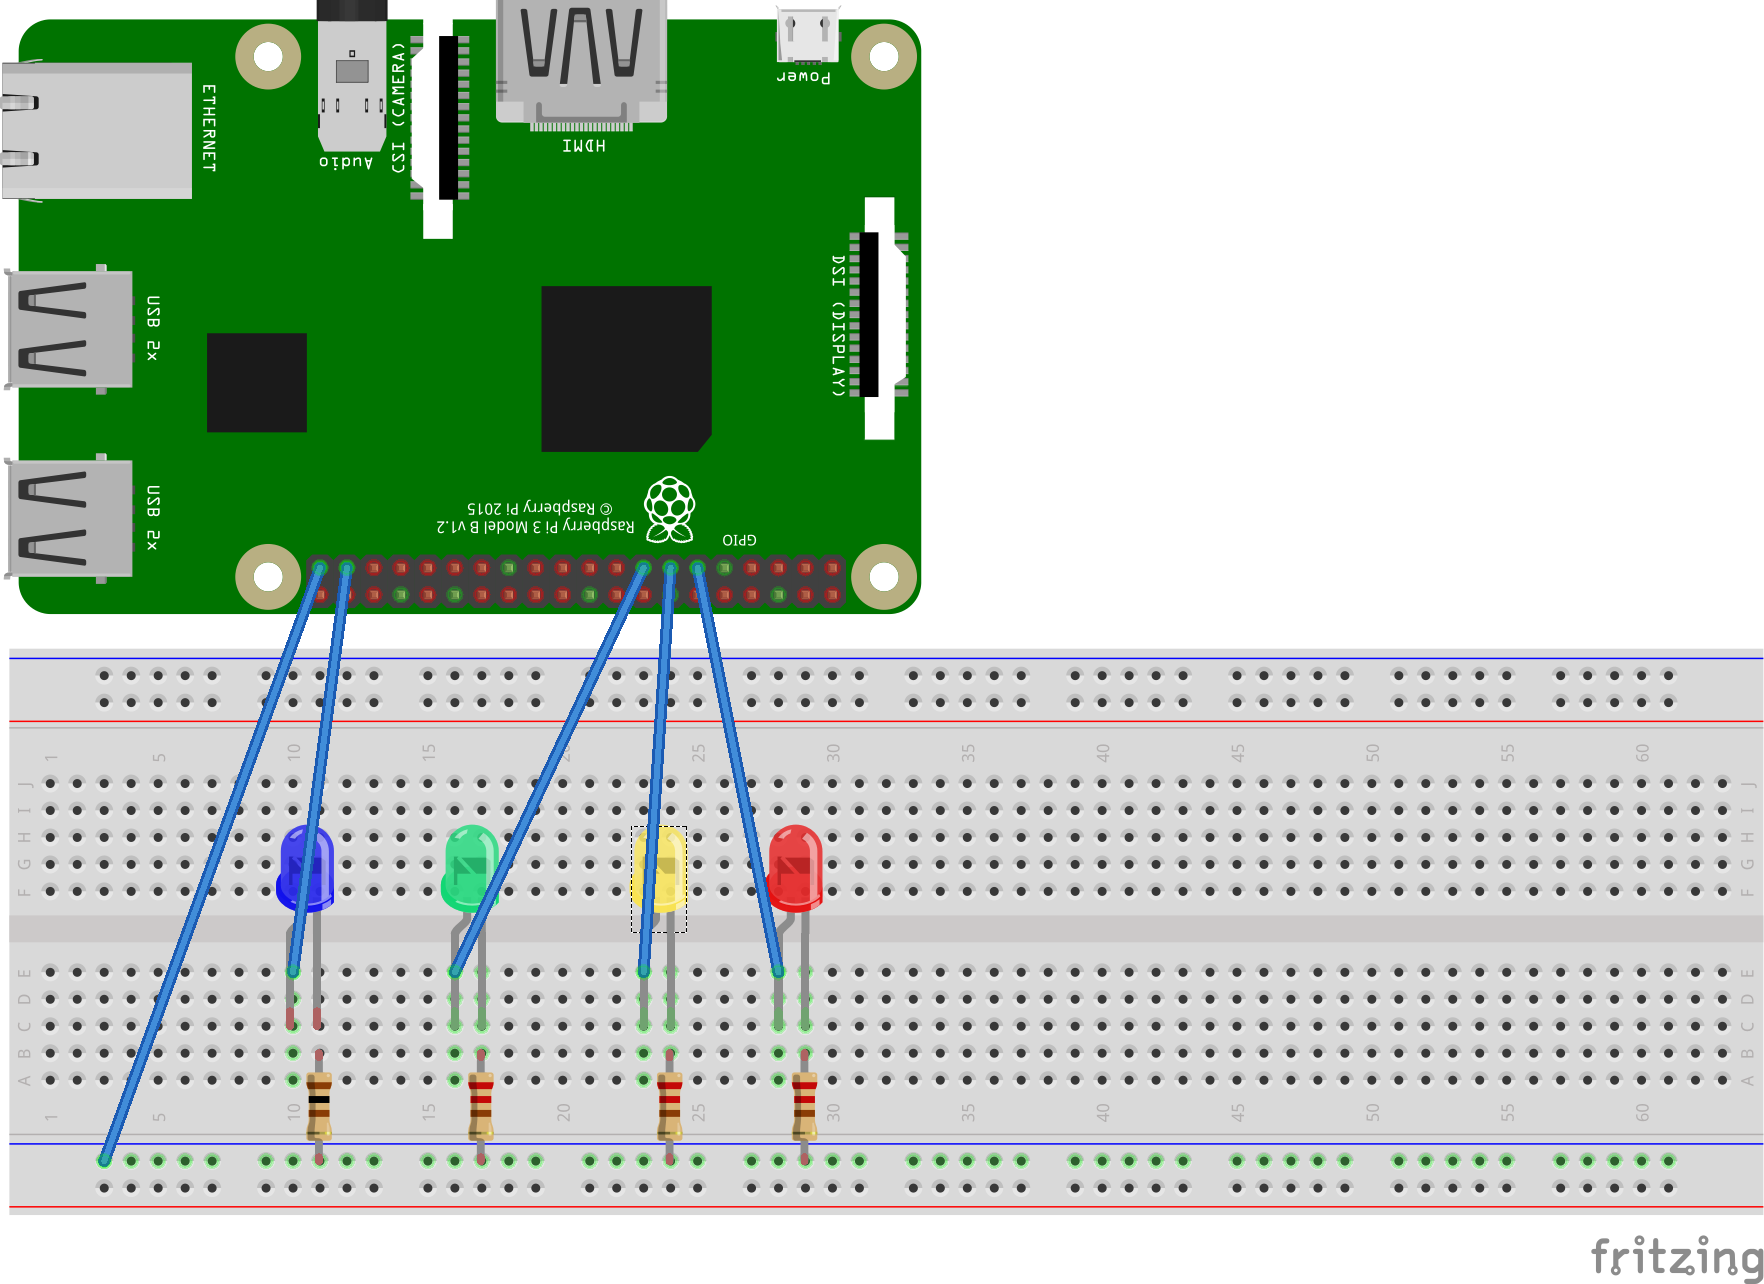
GPIO compliance with colors:
| GPIO | Color |
|---|---|
| 26 | Blue |
| 22 | Green |
| 27 | Yellow |
| 17 | Red |
Breadboard
Testing
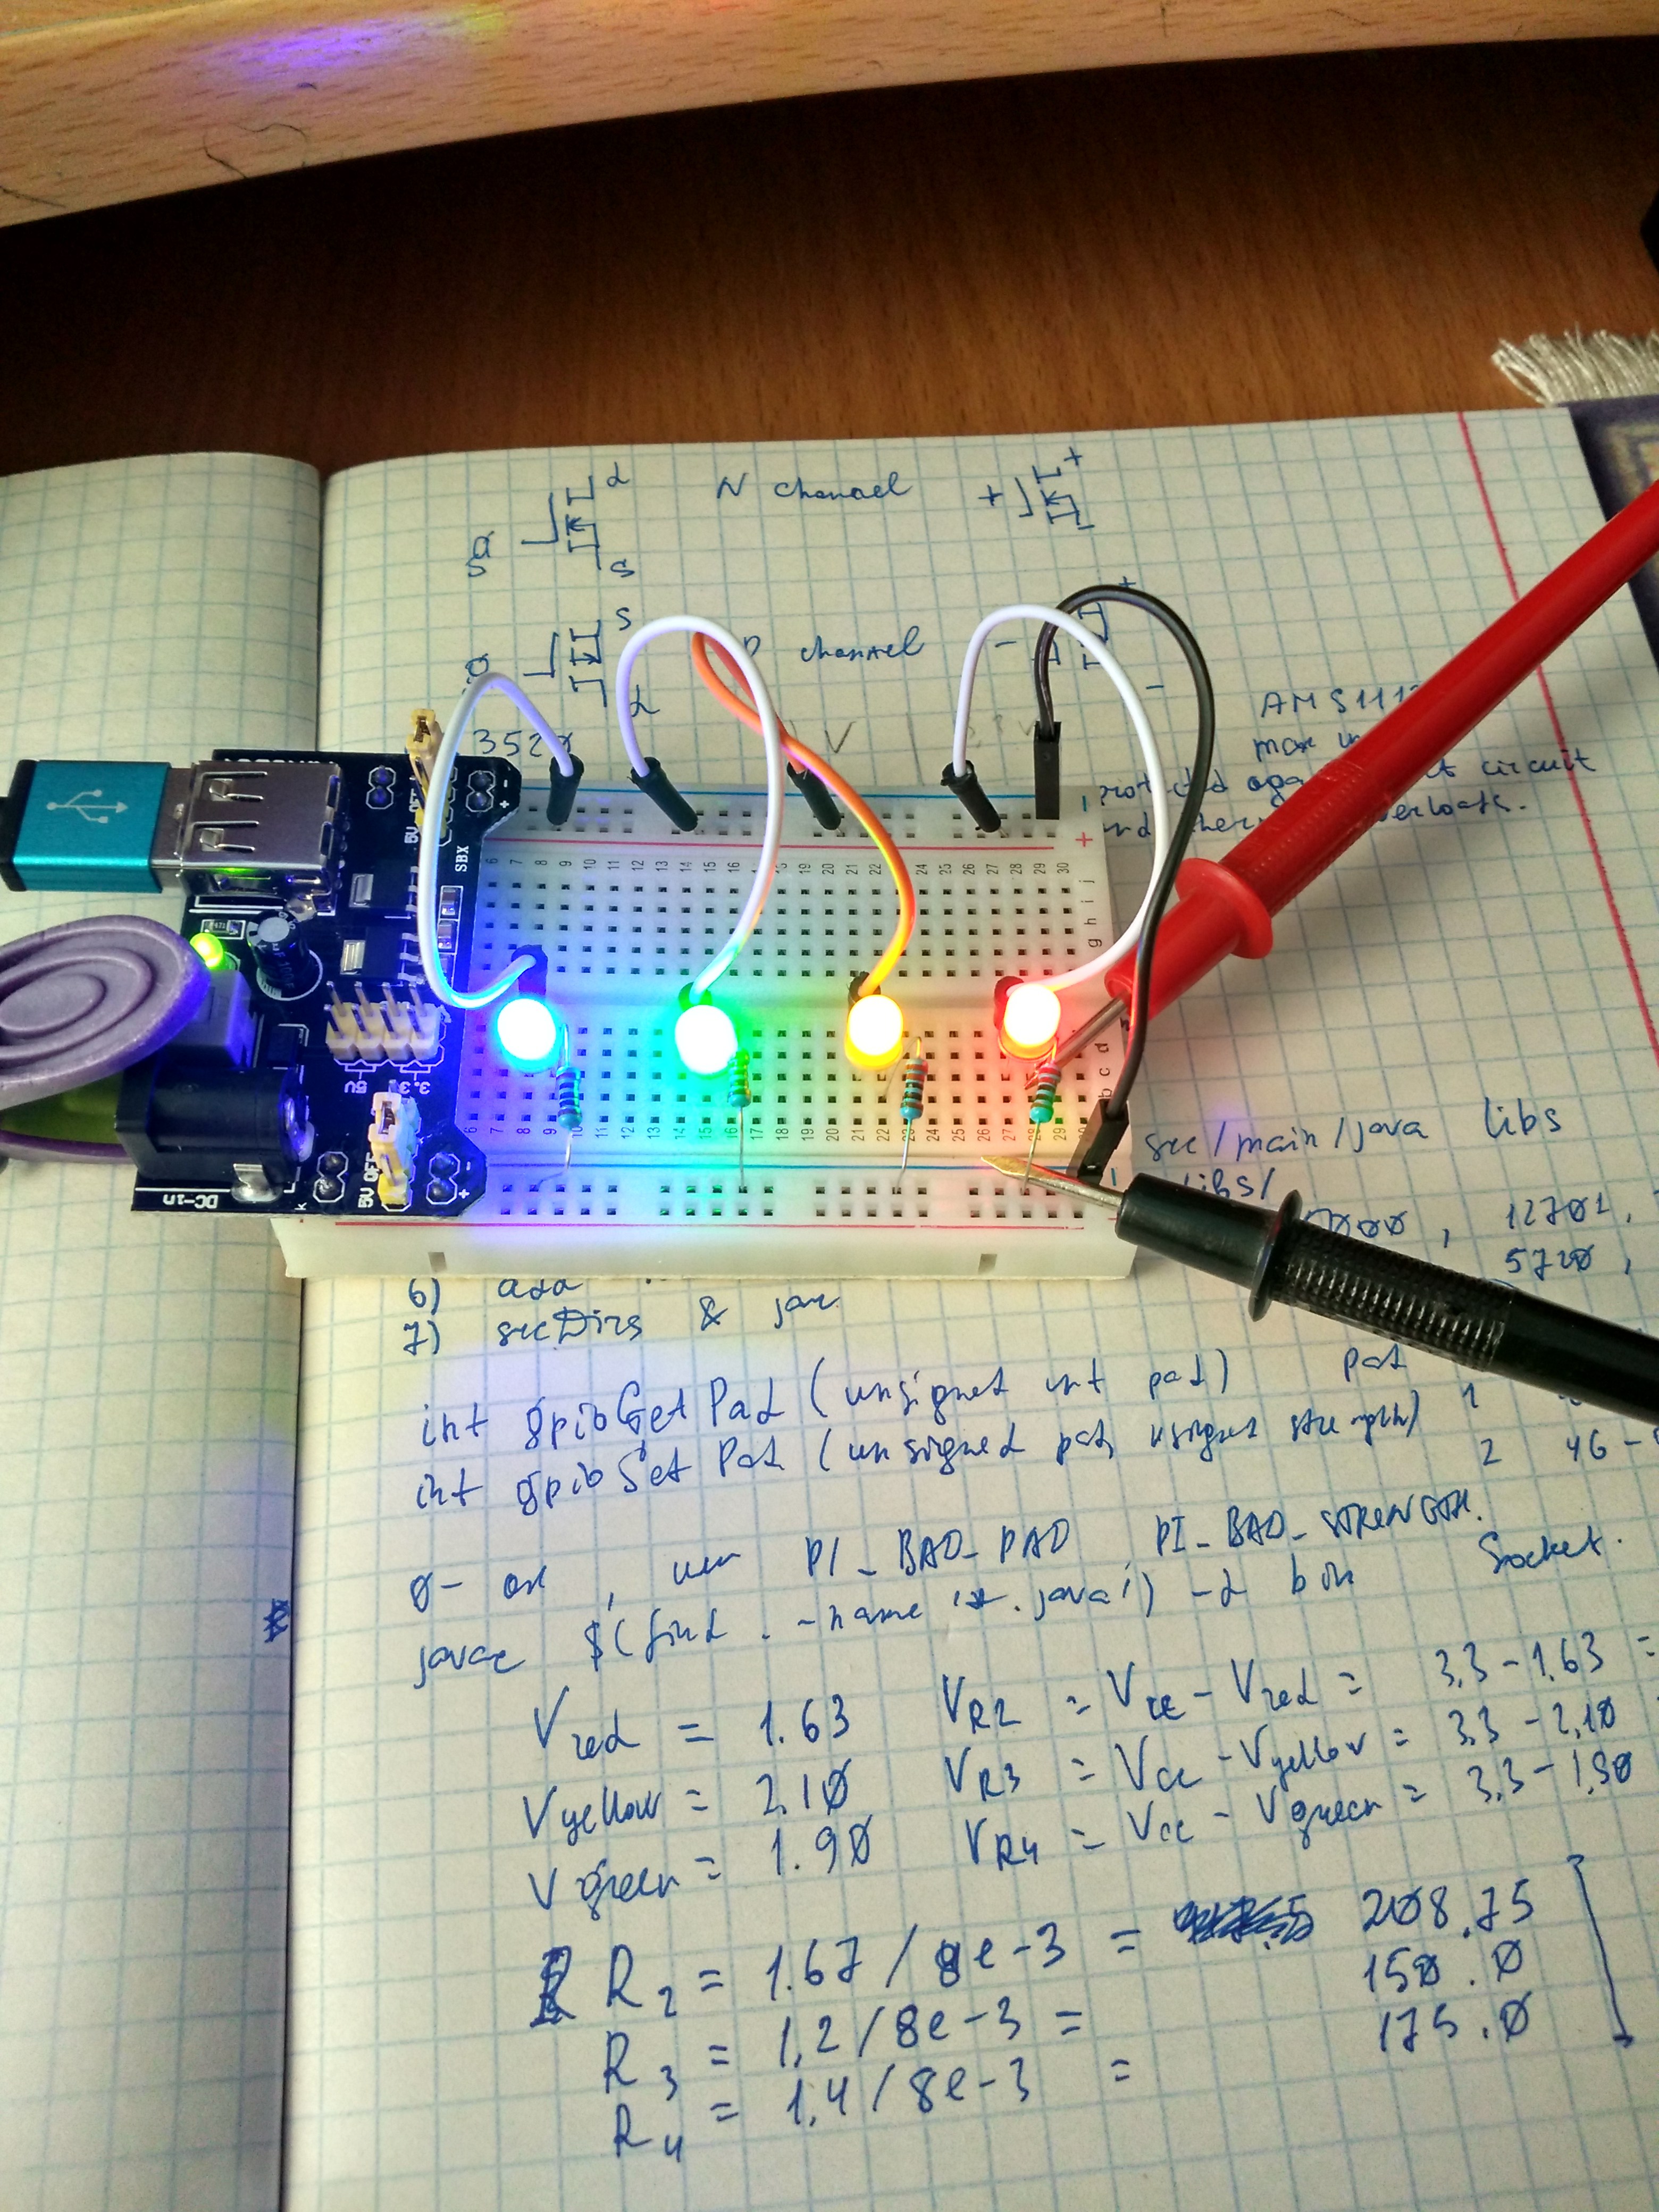
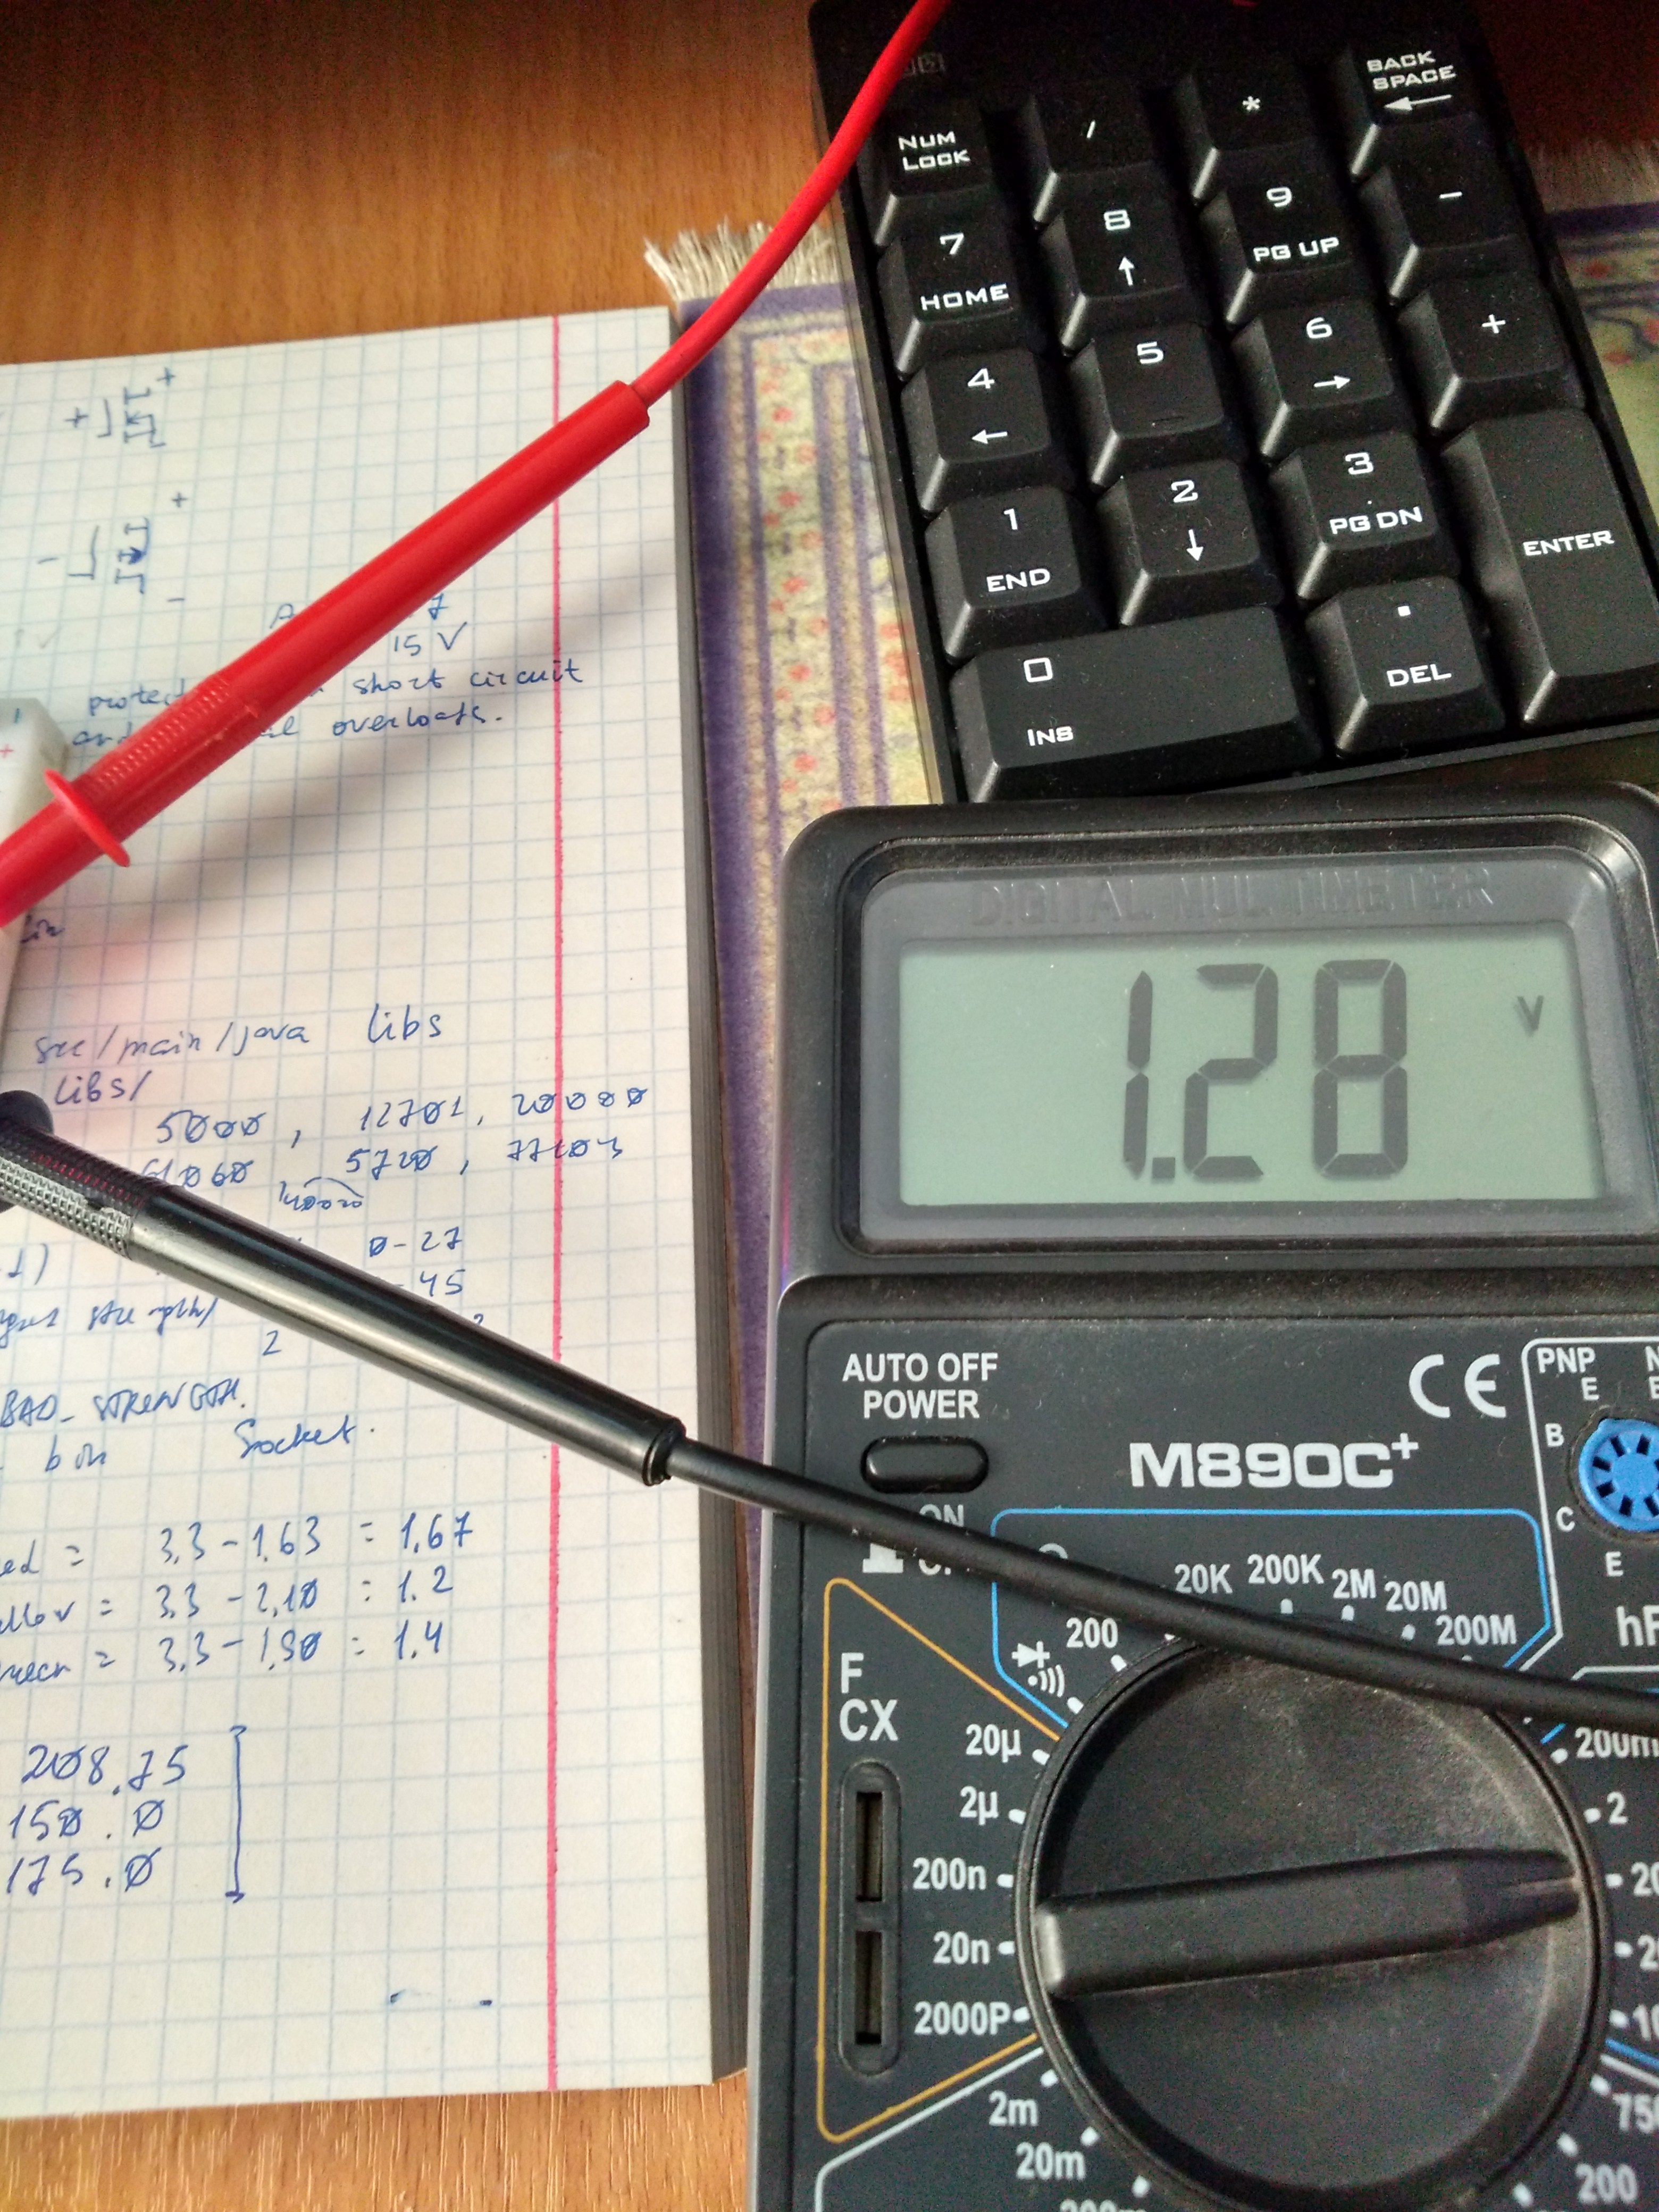
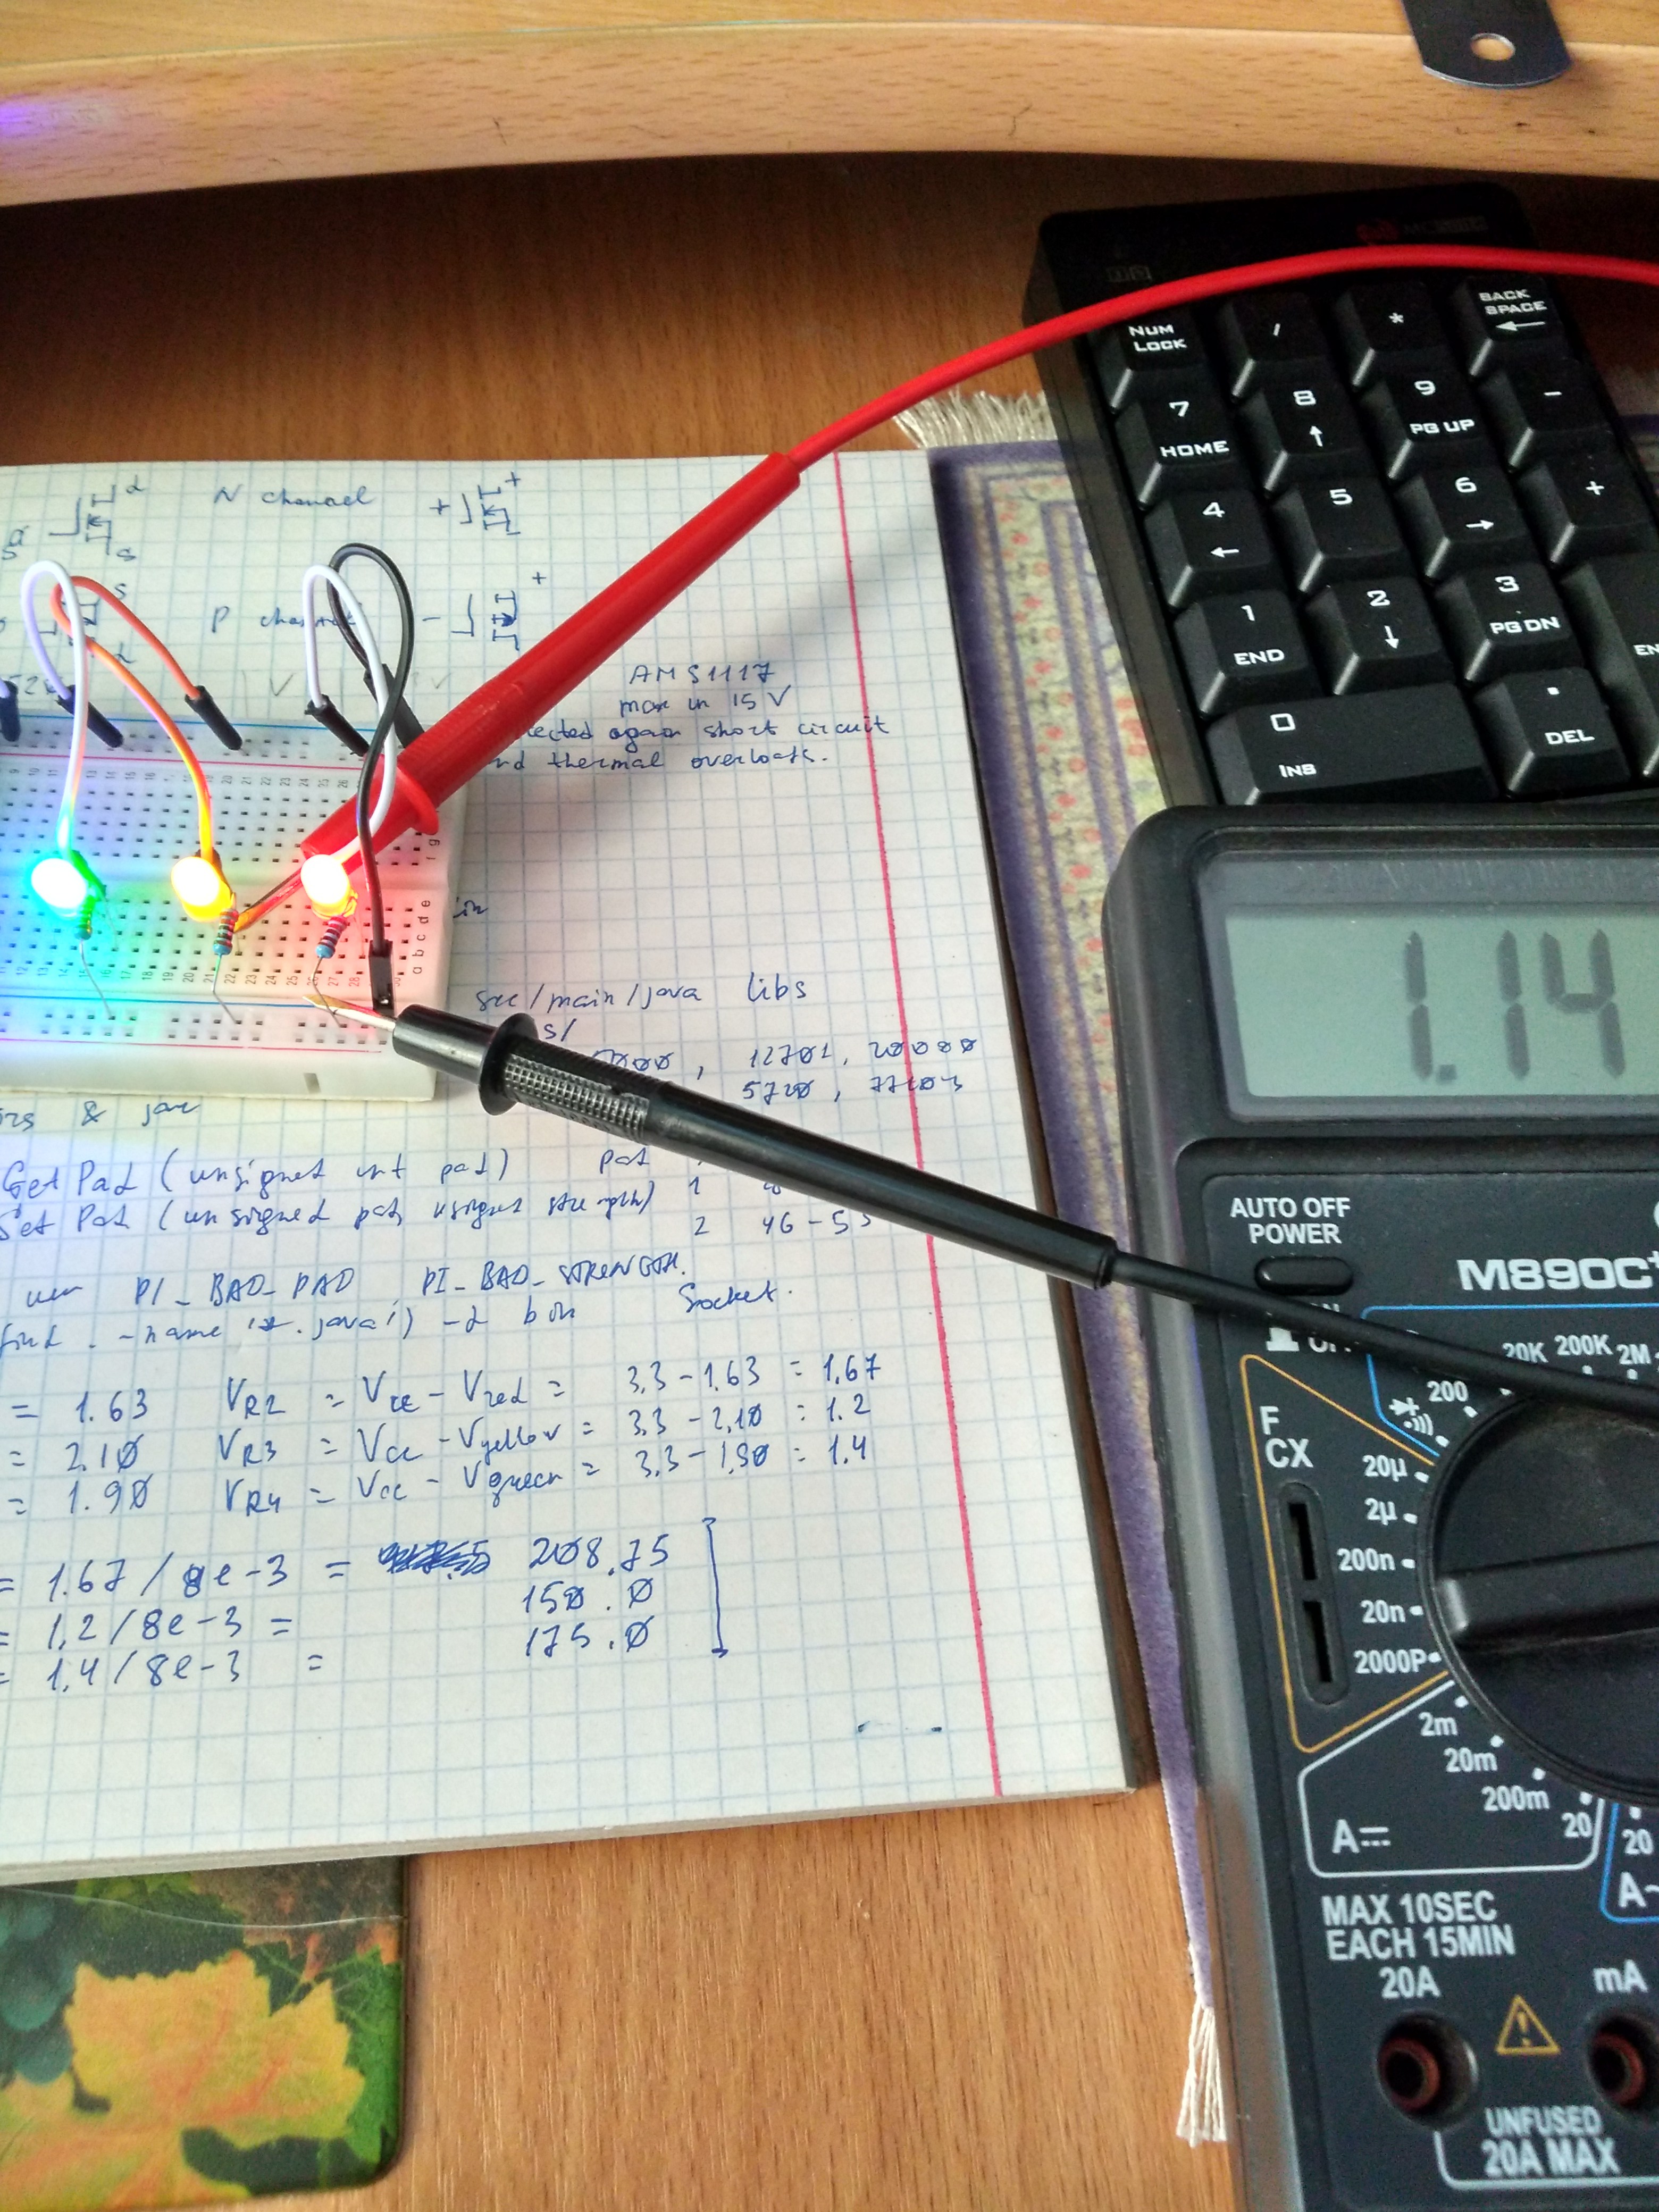
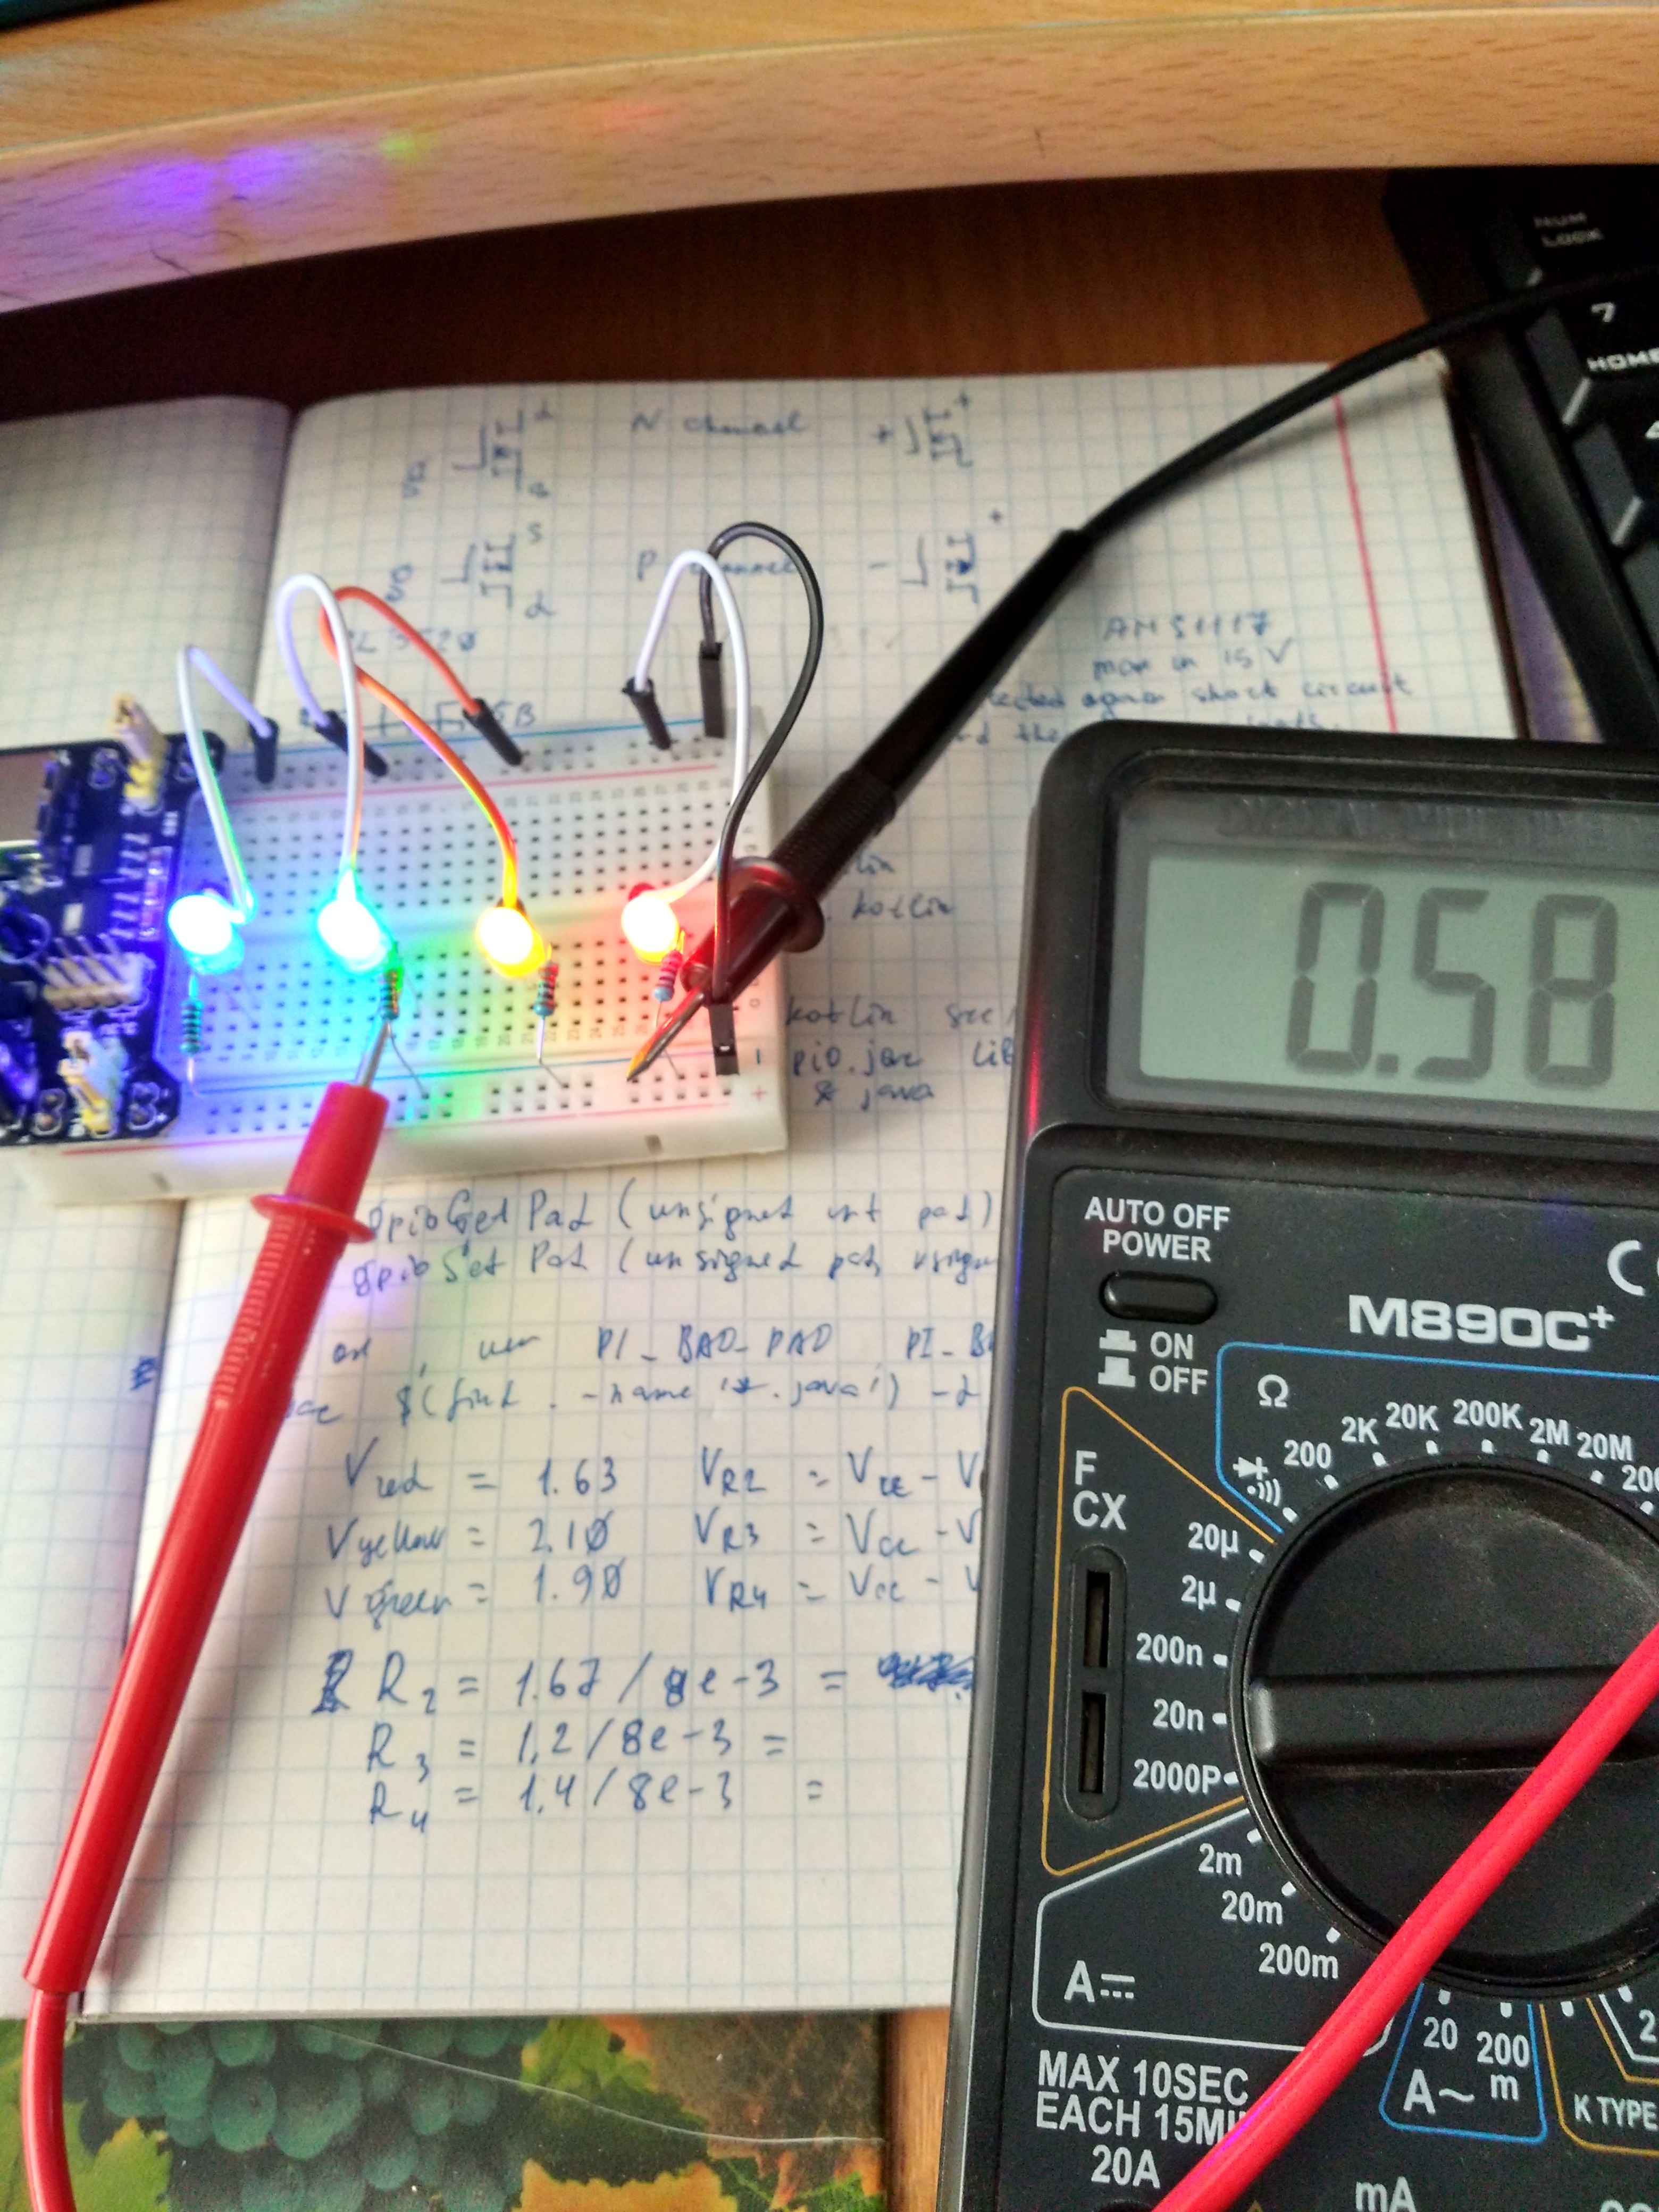
Calculate the currents through the resistors:
That is, the assumption about 8mA turned out to be correct and we can safely connect the scheme to Raspberry Pi:
Program
Let’s make some simple effects:
package io.github.yrabbit.kotlin.led

import io.github.yrabbit.java.util.AddDir
import jpigpio.JPigpio
import jpigpio.JPigpio.*
import jpigpio.Pigpio
import jpigpio.Utils

fun main(args: Array<String>) {
    // dirty hack: need to point java.library.path to the location of libJPigpioC.so
    AddDir.addDir("/home/rabbit/local/lib")

    println("Kotlin Raspberry Pi gentoo64")
    println("You must see a lights :)")

    // Init lib
    val pigpio = Pigpio()
    pigpio.gpioInitialize()
    Utils.addShutdown(pigpio)

    // Check drive strength on GPIO
    val strength = pigpio.gpioGetPad(0)
    println("Current drive strength:${strength}mA")

    if (strength != CURRENT) {
        pigpio.gpioSetPad(0, CURRENT)
        val newStrength = pigpio.gpioGetPad(0)
        println("New drive strength:${newStrength}mA")
    }

    // Mode output
    for (led in LEDS) {
        pigpio.gpioSetMode(led.pin, PI_OUTPUT)
    }

    // forward and backward
    val mode0 = arrayOf(0, 1, 2, 3, 2, 1)
    //
    val mode1 = arrayOf(0, 3, 1, 2, 1, 2)
    val mode2 = arrayOf(0, 1, 2, 3)

    repeat(3) {
        chainBlink(pigpio, mode0)
    }
    repeat(3) {
        chainBlink(pigpio, mode1)
    }
    repeat(3) {
        chainBlink(pigpio, mode2)
    }

    //
    gpioSwitchToInput(pigpio)
}

fun chainBlink(pigpio: JPigpio, chain: Array<Int>) {
    for (led in chain) {
        // ON
        pigpio.gpioWrite(LEDS[led].pin, PI_HIGH)
        pigpio.gpioDelay(300 * 1000)
        // OFF
        pigpio.gpioWrite(LEDS[led].pin, PI_LOW)
        pigpio.gpioDelay(100 * 1000)
    }
}

/*
 * Clean up
 */
fun gpioSwitchToInput(pigpio: JPigpio) {
    UsedGPIO.values().forEach {
        pigpio.gpioSetMode(it.pin, PI_INPUT)
    }
}

enum class UsedGPIO(val pin: Int) {
    BlueLedPin(26),   // GPIO26
    GreenLedPin(22),  // GPIO22
    YellowLedPin(27), // GPIO27
    RedLedPin(17)     // GPIO17
}
val LEDS = arrayOf(UsedGPIO.BlueLedPin, UsedGPIO.GreenLedPin, UsedGPIO.YellowLedPin, UsedGPIO.RedLedPin)

const val CURRENT = 8 // 8mA
Start
Run the resulting JAR:
Well, isn’t it cool? I’m happy![]()

